39 online labels silhouette settings
PDF S ti c k e r P a p e r C u t S e tti n g s - Online Labels® G o l d F o i l L a se r O L 1 7 7 G F 2 7 1 4 3 S i l ve r F o i l I n kj e t O L 1 7 7 S I 2 7 1 8 2 G o l d F o i l I n kj e t O L 1 7 7 G I 2 7 1 8 2 Perfect Cut Settings in Silhouette - Silhouette Secrets+ 1 - Use the Test Cut feature in the Silhouette software on the Send tab. The default test cut option is in the upper left corner of either the mat or the material loaded. If you need to move the test cut to do it again, you can do so in 2 ways. You will need to move the test cut to the exact location you want it to cut on your material.
DIY Clothing Labels - Silhouette 101 Go to the Send tab in Silhouette Studio®, and make sure you are using the proper cut settings. Step Three: Apply the Label to the Apparel. Peel the printed image from the backing of the heat transfer sheet and place it print side up on the fabric. TIP: I found it easier to peel back these small labels with an X-ACTO knife.

Online labels silhouette settings
My Account | OnlineLabels® Account Settings Update Contact Information - Update your contact information. Address Book - Update or add to your address list. Payment Options - Update or add to your payment options list. Email & Privacy Settings - Update your email and privacy settings. Profile Settings - Update your industry and label applications. Maestro Label Designer® Sign In - OnlineLabels Create an Account. Why create an account? Get exclusive rewards. View order history. Reorder quickly. How to Make Adhesive Labels on Your Silhouette Using Print & Cut Click on File > Print, and print to your printer. Make sure your adhesive printable paper is already loaded! Once it's printed, you're ready to cut. Place your printable paper on the cutting mat as shown on your screen, then load it into your Silhouette. Select File < Send to Silhouette, and follow the prompts.
Online labels silhouette settings. Cutting with Silhouette - General Discussion - OnlineLabels.com Forum Cutting with Silhouette. I use the Silhouette Cameo to make labels - using mostly the clear glossy labels for laser (OL177CL). I have noticed recently that the blade goes blunt after few cuts, and this is really frustrating. I think this may have something to do with the material for the clear labels, I have tried everything including premium ... Online Labels® Sticker Paper Cut Settings for Silhouette Cameo 3 Our expert crafters have hand-tested the Silhouette Cameo® 3 with OnlineLabels sticker paper to bring you the exact cut settings for each material. Continue to the charts below to find the cut settings for kiss cut and full cut stickers using your AutoBlade and ratchet blade. AutoBlade 1 Settings Download for later Laminated Labels with your Silhouette - unOriginal Mom Use the external offset tool to create a cut line about 1/4″ outside of your cut edge. #3 - MIDDLE LINE. This is for your final cut once you've laminated your labels - it should be between your cut edge and outer border, but a bit closer to the outer border (like shown in the image below). Now, select ONLY your CUT EDGE and your OUTER ... Vinyl-laminated Labels With Silhouette Cutter - Instructables Step 2: Add Your Image. Open your chosen image in Silhouette Studio. It will open in a new document - that's fine, just cut and paste it onto your existing document. While it is selected you can adjust the size if you need to - select one of the corner anchor points and move it in or out until you are happy.
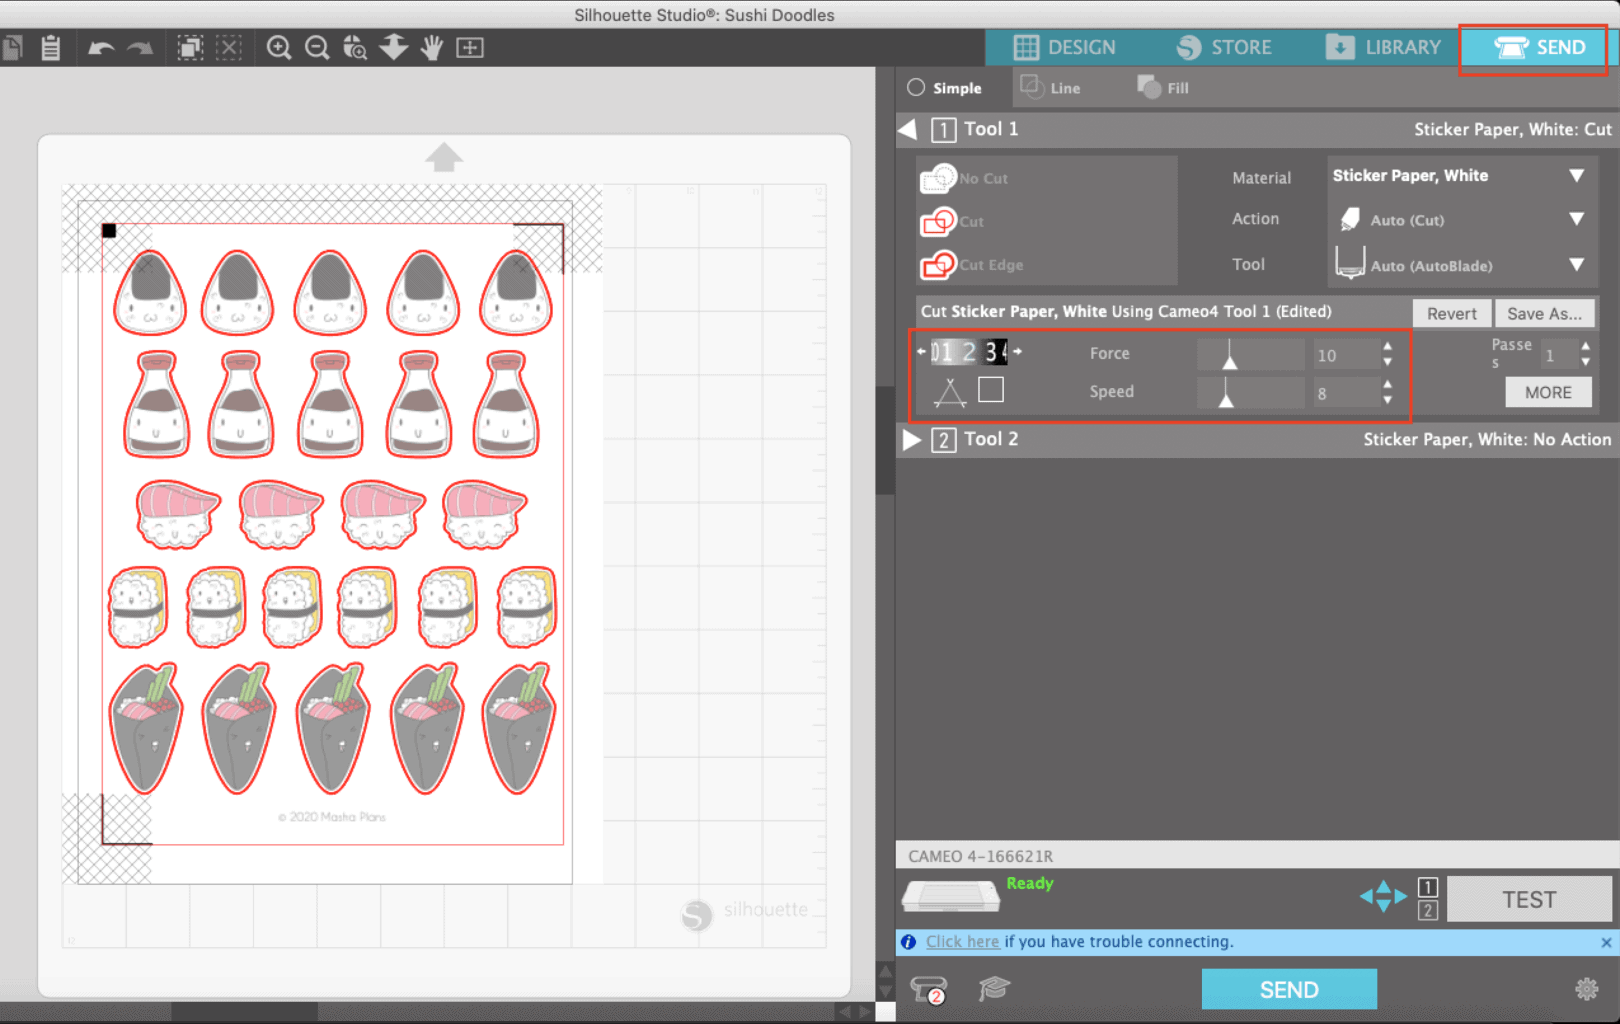
Online Labels® Sticker Paper Cut Settings for Silhouette Cameo 4 Online Labels Updated 09/22/2022 • ~1 minute read Our expert crafters have hand-tested the Silhouette Cameo® 4 with OnlineLabels sticker paper to bring you the exact cut settings for each material. Continue to the charts below to find the cut settings for kiss cut and full cut stickers using your AutoBlade and ratchet blade. AutoBlade 2 Settings Laminated Online Labels Kiss Cut and Die Cut settings The part that sticks goes on top of the stickers and the side without adhesive goes on the back. I hope this helps. I have a laminating machine now and I use the heat lamination setting. To do die-cut stickers, my settings are blade depth 7, force 30, and speed 4 with two passes. For kiss cut, just regular sticker paper glossy default setting. Silhouette Portrait 3 | How to Cut Online Labels White Matte Sticker ... Plant Finances is your source for personal finance management and advice. Learn how to manage your finances, set goals, and improve your financial health tod... How to Make Adhesive Labels on Your Silhouette Using Print & Cut Click on File > Print, and print to your printer. Make sure your adhesive printable paper is already loaded! Once it's printed, you're ready to cut. Place your printable paper on the cutting mat as shown on your screen, then load it into your Silhouette. Select File < Send to Silhouette, and follow the prompts.
Sign In - OnlineLabels Create an Account. Why create an account? Get exclusive rewards. View order history. Reorder quickly. My Account | OnlineLabels® Account Settings Update Contact Information - Update your contact information. Address Book - Update or add to your address list. Payment Options - Update or add to your payment options list. Email & Privacy Settings - Update your email and privacy settings. Profile Settings - Update your industry and label applications. Maestro Label Designer®
How to Make Sets of Kiss Cut Stickers with Silhouette CAMEO 4 ...

Laminated Online Labels Kiss Cut and Die Cut settings : r ...

Pin on Book quotes

How to Make Sets of Kiss Cut Stickers with Silhouette CAMEO 4 ...

Silhouette CAMEO 3 Dual Carriage for Easiest DIY Stickers ...
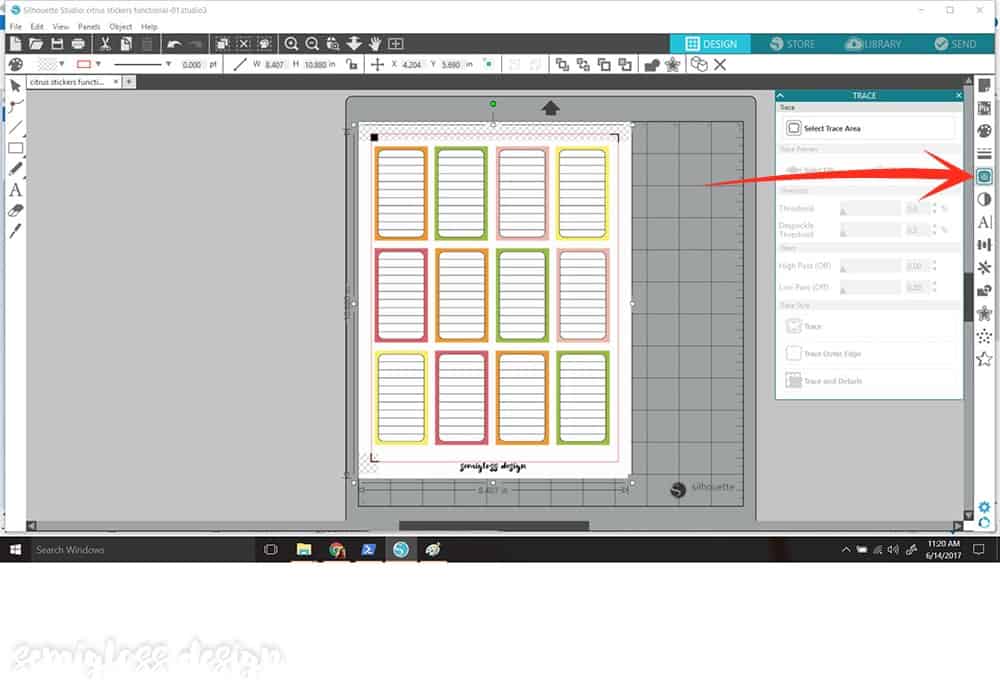
How to Cut Stickers with a Silhouette - Semigloss Design

53 Stickers ideas in 2022 | sticker paper, custom stickers ...

How to Choose a Sticker Paper (2021) - Well Crafted Studio
Online Labels® Sticker Paper Cut Settings for Cricut Explore 3

How To Print and Cut Your Own Fun Stickers with a Cameo 4 ...
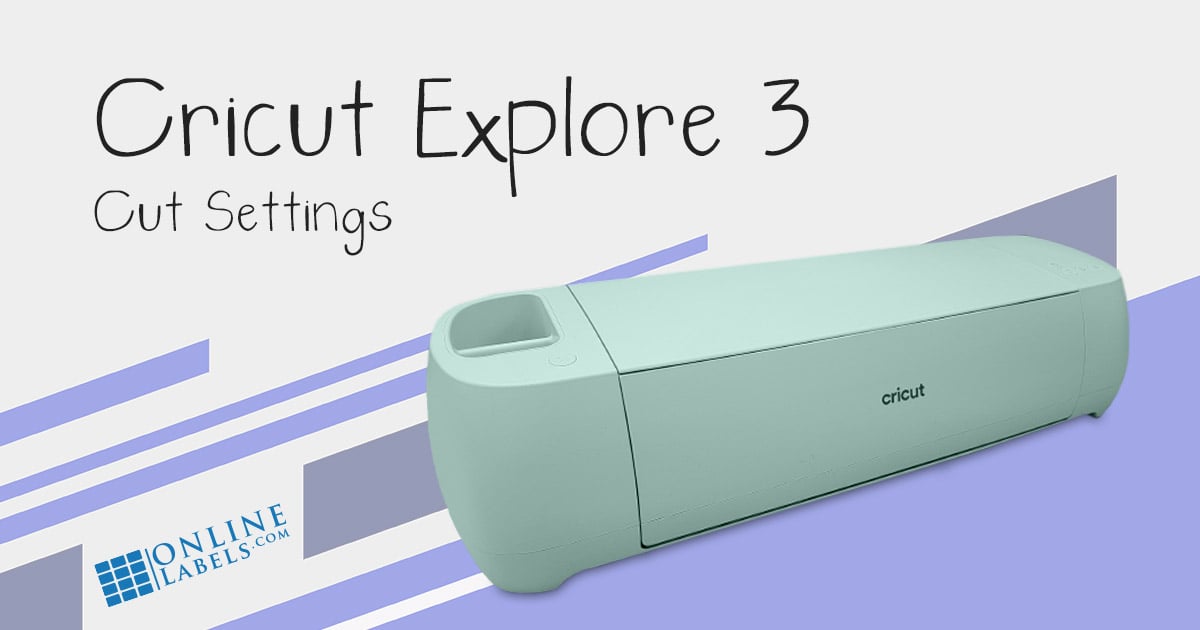
Online Labels® Sticker Paper Cut Settings for Cricut Explore 3

Vinyl-laminated Labels With Silhouette Cutter : 8 Steps (with ...

How to Make Sets of Kiss Cut Stickers with Silhouette CAMEO 4 ...

DIY Address Labels with the Silhouette CAMEO

53 Stickers ideas in 2022 | sticker paper, custom stickers ...

How to Make Print and Cut Sticker Sets (Silhouette Studio V4 ...

Die Cut Stickers with Silhouette CAMEO: Step by Step Tutorial ...
Answering Your Questions About our Sticker Paper & Cricut ...

How to Make Sets of Kiss Cut Stickers with Silhouette CAMEO 4 ...

Kiss Cut Stickers on My Cricut Maker — JoAnna Seiter
OnlineLabels® Sticker Paper Cut Settings for Cricut Explore Air

How to Make Sets of Kiss Cut Stickers with Silhouette CAMEO 4 ...

How To Print and Cut Your Own Fun Stickers with a Cameo 4 ...
I made my first sticker sheet with my Silhouette Portrait 3 ...

How to Make Print and Cut Sticker Sets (Silhouette Studio V4 ...

300 Silhouette ideas | silhouette cameo projects, silhouette ...
How To Make Stickers With Silhouette Cameo | Masha Plans

How to Make Stickers with a Cricut or Silhouette: Printable ...

How To Print and Cut Your Own Fun Stickers with a Cameo 4 ...

How to Make Sets of Kiss Cut Stickers with Silhouette CAMEO 4 ...
Brother Scan N Cut 2 Unboxing - See What's Inside

How to Make Print and Cut Sticker Sets (Silhouette Studio V4 ...
Sticker Paper Cut Settings Guide for Silhouette, Cricut, and More
OnlineLabels® Sticker Paper Cut Settings for Silhouette ...
How To Make Stickers With Silhouette Cameo | Masha Plans

How to Make Print and Cut Sticker Sets (Silhouette Studio V4 ...

How to Make Sets of Kiss Cut Stickers with Silhouette CAMEO 4 ...

Silhouette Cameo 3 Unboxing - See What's Inside

How to Make Print and Cut Sticker Sets (Silhouette Studio V4 ...
Post a Comment for "39 online labels silhouette settings"